Appearance
ip 证书
2026-01-30
2026-01-15 那天 let's encrypt 开启了 ip 证书的申请,看到这个博客的时候差不多是两星期后,正巧我的服务器弄域名备案什么的过于烦人,于是两者一拍即合:申请 ip 证书就行了,不需要域名备案或者 http 裸奔
当你看到这篇 blog 的时候,浏览器访问的 host 应该就是我服务器的 ip:124.71.168.166 (而且是 https!)

我的 Ubuntu vps 使用 nginx 作为服务器,借助 acme.sh 向 let's encrypt 申请证书,这套技术栈目前是跑通了的,其他诸如 nginx + certbot 或者 caddy 直接申请这两种暂时还没成功就不管了,先说 nginx + acme.sh 这个,下文使用本服务器 ip:124.71.168.166 作为案例讲解
直接开始
1. 在 Ubuntu 上安装 nginx 服务器
更新 Ubuntu 的源来安装最新的 nginx
sh
sudo apt install curl gnupg2 ca-certificates lsb-release -y
curl -fsSL https://nginx.org/keys/nginx_signing.key | sudo gpg --dearmor -o /usr/share/keyrings/nginx-archive-keyring.gpg
echo "deb [signed-by=/usr/share/keyrings/nginx-archive-keyring.gpg] http://nginx.org/packages/ubuntu $(lsb_release -cs) nginx" | sudo tee /etc/apt/sources.list.d/nginx.list
sudo apt update -y
sudo apt install nginx -y
安装好并开启 nginx
sh
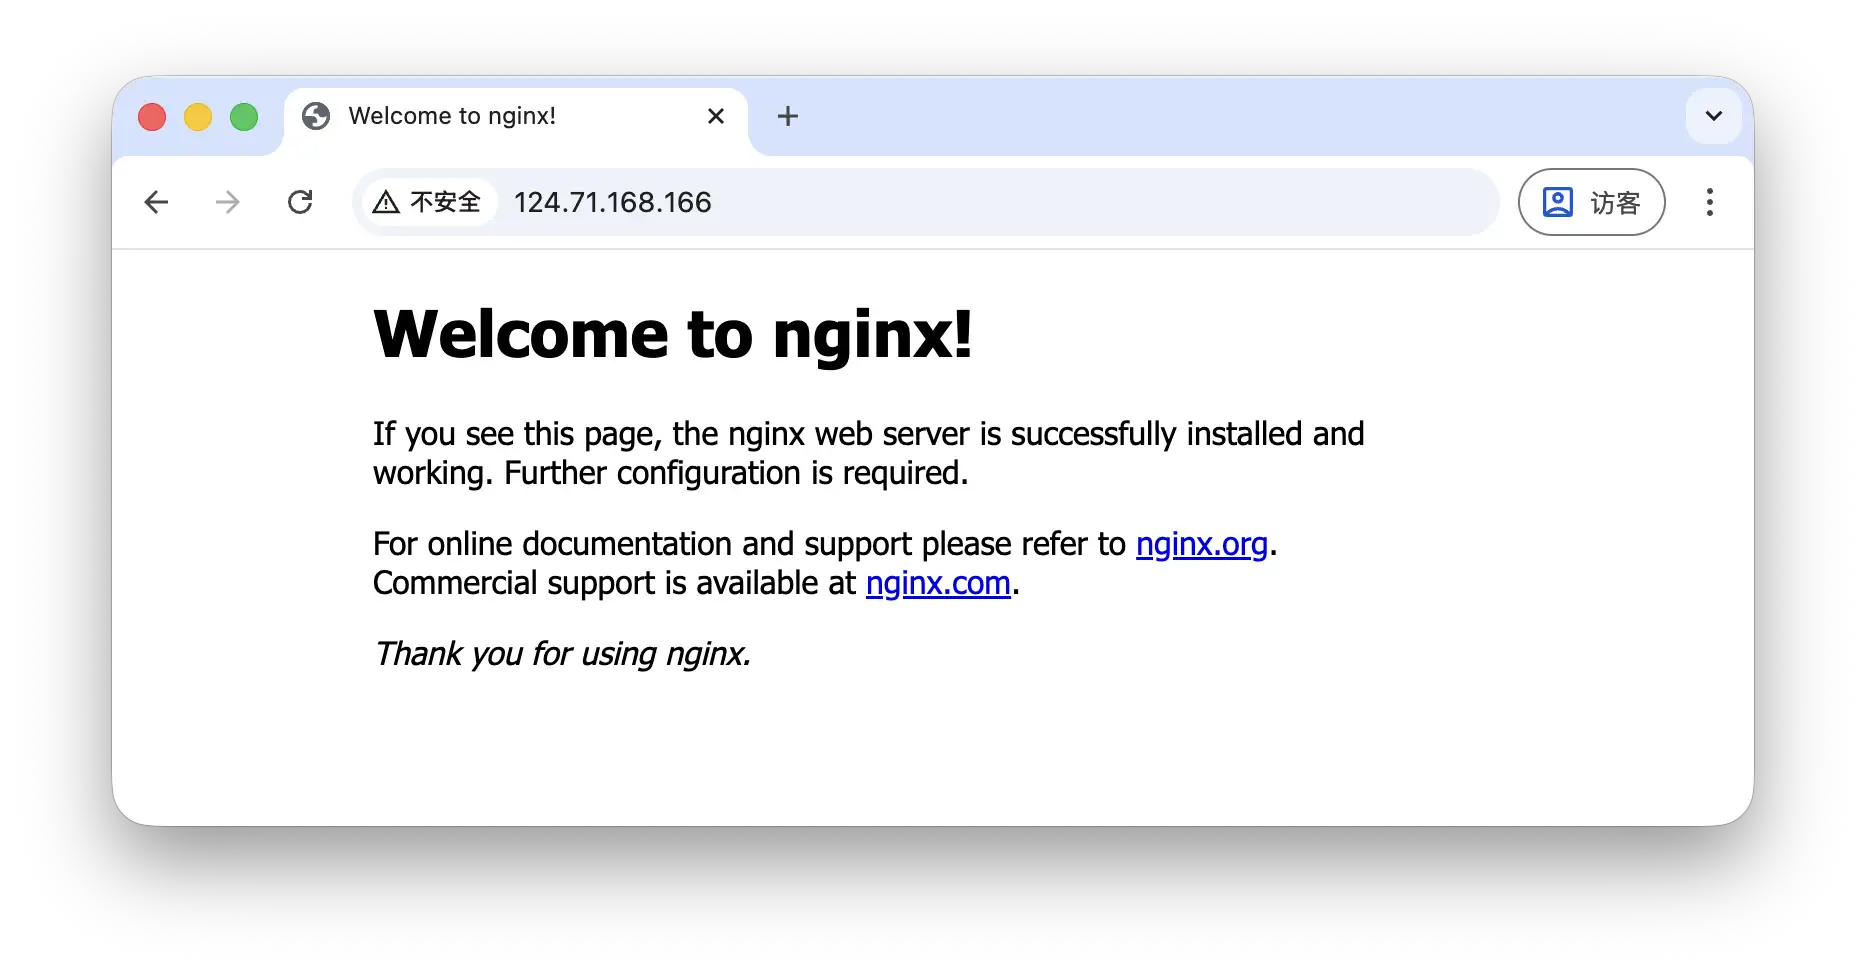
sudo nginx之后在浏览器输入 http://124.71.168.166 应该就能看到默认的 nginx 欢迎页面
2. 配置 nginx
此时 server 块是默认使用 80 端口的 localhost:
nginx
server {
    listen       80;
    server_name  localhost;

    #access_log  /var/log/nginx/host.access.log  main;

    location / {
        root   /usr/share/nginx/html;
        index  index.html index.htm;
    }

    #error_page  404              /404.html;

    # redirect server error pages to the static page /50x.html
    #
    error_page   500 502 503 504  /50x.html;
    location = /50x.html {
        root   /usr/share/nginx/html;
    }

    # proxy the PHP scripts to Apache listening on 127.0.0.1:80
    #
    #location ~ \.php$ {
    #    proxy_pass   http://127.0.0.1;
    #}

    # pass the PHP scripts to FastCGI server listening on 127.0.0.1:9000
    #
    #location ~ \.php$ {
    #    root           html;
    #    fastcgi_pass   127.0.0.1:9000;
    #    fastcgi_index  index.php;
    #    fastcgi_param  SCRIPT_FILENAME  /scripts$fastcgi_script_name;
    #    include        fastcgi_params;
    #}

    # deny access to .htaccess files, if Apache's document root
    # concurs with nginx's one
    #
    #location ~ /\.ht {
    #    deny  all;
    #}
}
这里我们把 server_name localhost 改为 ip 地址 sever_name 124.71.168.166,方便之后 acme.sh 识别与验证
nginx
server {
    listen       80;
    server_name  124.71.168.166;
    ...
}
3. 安装 acme.sh 客户端
acme.sh 是一个用 shell 编写的 ACME 协议客户端,其他知名的客户端还有例如 certbot
直接用官网的脚本安装,这里的邮箱可以填写自己的
sh
curl https://get.acme.sh | sh -s email=my@example.com安装完之后会得到一个新的配置文件目录 ~/.acme.sh
4. 请求 ip 证书
sh
acme.sh --issue \
  -d 124.71.168.166 \
  --server letsencrypt \
  --cert-profile shortlived \
  --nginx
这个命令就是请求的核心了,它会检测 /etc/nginx 中可能存在的 server_name 中的域名(之前把 localhost 改为 124.71.168.166 就是为了这里),然后向 let's encrypt 申请这个域名的证书并且 challenge,成功的话就会在 ~/.acme.sh 中添加一个目录 124.71.168.166_ecc
5. 配置证书
配置 listen 443 ssl,并且在 ~/.acme.sh/124.71.168.166_ecc 中找到 fullchain.cer 和 124.71.168.166.key,添加到 /etc/nginx/default.conf 中即可,修改后的 server 块长这样:
nginx
server {
    listen       443 ssl;
    server_name  124.71.168.166;
    ssl_certificate /root/.acme.sh/124.71.168.166_ecc/fullchain.cer;
    ssl_certificate_key /root/.acme.sh/124.71.168.166_ecc/124.71.168.166.key;
    ...
}
浏览器输入 https://124.71.168.166 就能看到带了把锁的 https

perfect 🎉!